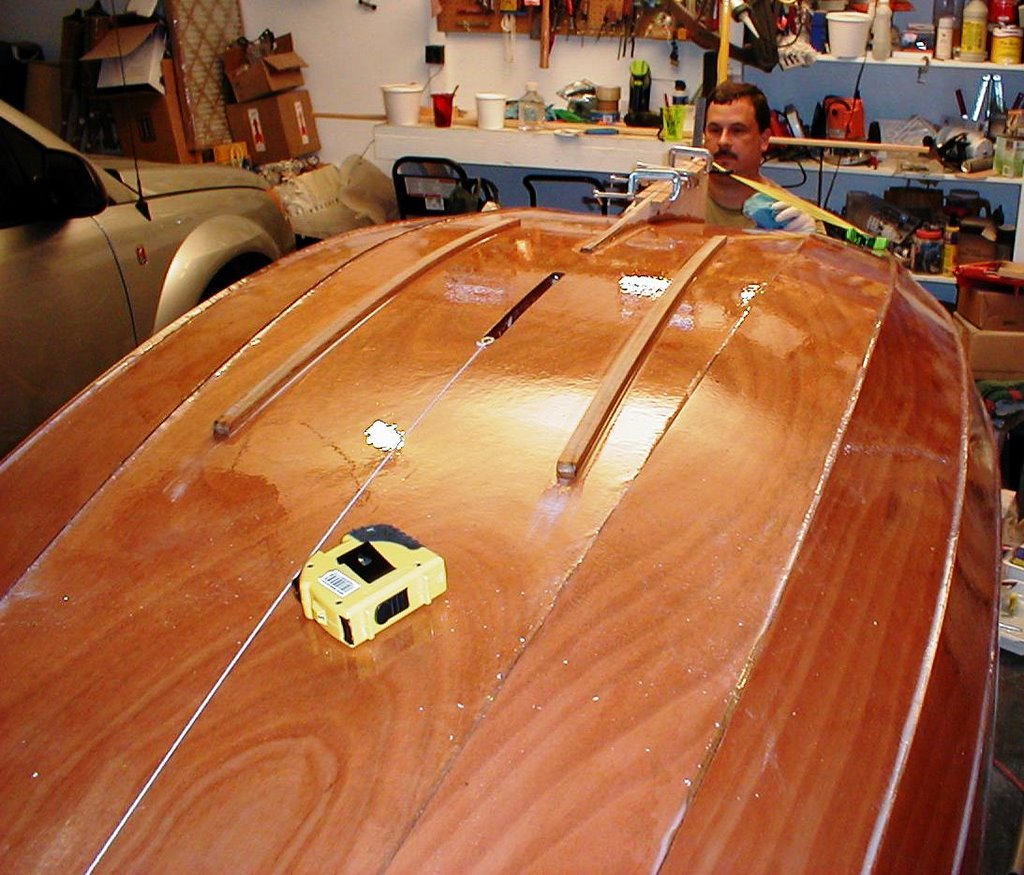
Intending to put a second coat of epoxy on the exterior hull, I instead got sidetracked, and messed around with various boat parts. I first started finishing the daggerboard. Previously,
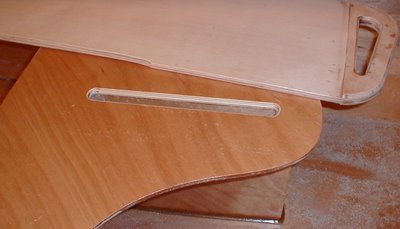
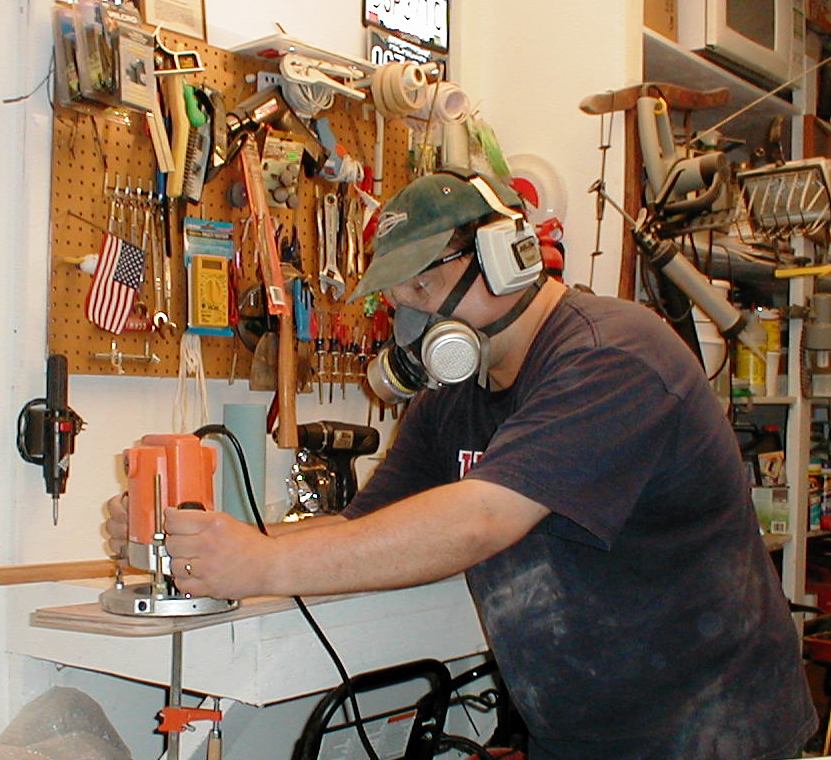
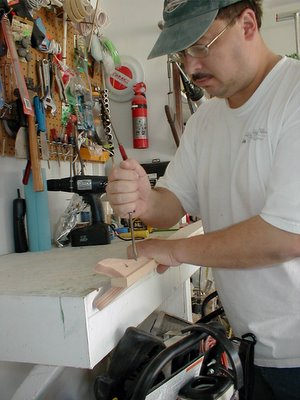
the handle was laminated on the piece of plywood that makes up the daggerboard. Today, I shaped the board to be more hydrodynamic. The leading edge of the submerged portion was rounded, and the trailing edge was shaped to a fine taper with a belt sander and 100-grit paper. Other edges were rounded with the router and a roundover bit. I switched to the 3/8" roundover bit to shape the handle, which turned out to be good looking with the round contour and all the layers of the laminate showing. I then turned to some finish work on the spars. I attached the gunter yard jaws to this spar. The jaws are shaped plywood that form a fork where the gunter yard rides along the mast. The instructions for this task are a little unclear, with only a warning to put the jaws on the correct end of the yard. However, it is unclear - and not shown in a photo on the page - which direction the jaws angle towards. (Although, after thinking about it, I realize that if they are put on the correct end of the yard, there is only one way they could angle.) For Passagemaker builders, be sure to look ahead to page 85 (the
first page 85; my copy of the instruction book has two) of the instruction book for a photo of the correct orientation. Additionally, the instructions call for the jaws to be preliminarily attached by countersunk screws, but don't specify which of the myriad screws that are included in the sail kit are to be used. Since the yard is rather narrow, I used four of the shortest bronze woodscrews supplied in the sail kit. Later on, the jaws will be permanently epoxied in place along with the screws. Finally, the gunter yard and the mainsail boom were sanded and edges were rounded off with the router to give a finished look. Instructions advise that the spars need not be epoxy coated, but only varnished, which is something I will do later, after the required rigging holes are drilled in the yards.
By the time that was all done, it was far too nice a day to be inside boat building. I took the rest of the afternoon off to enjoy the weather.
Total hours 62.75.
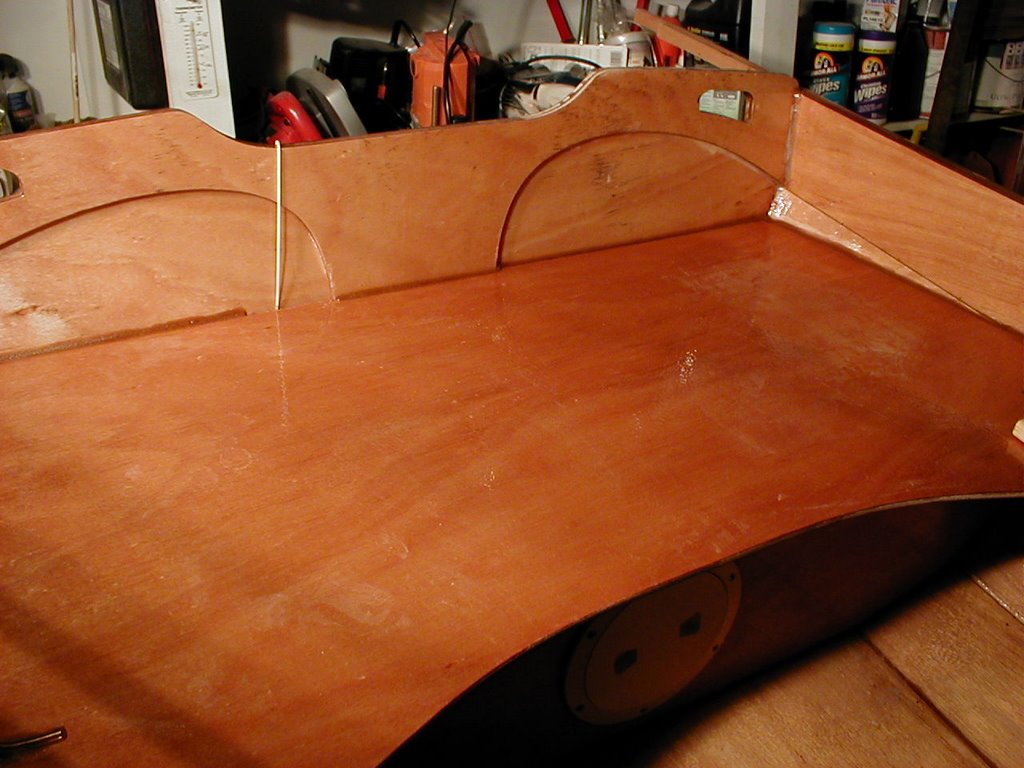
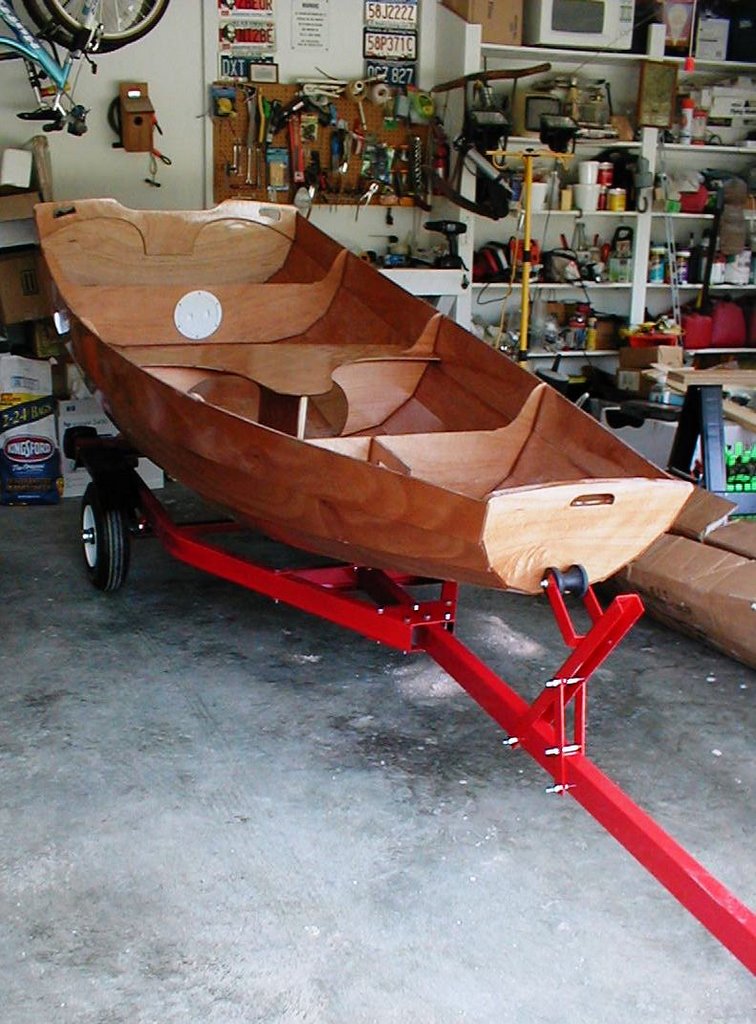
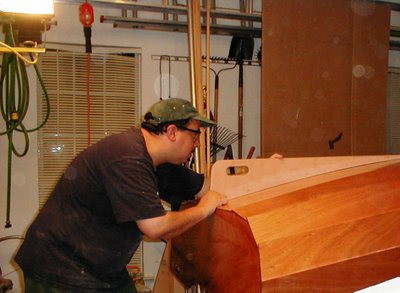
 It was a quick job to touch up the fillets on the bow seat. Adding to the base set down previously, I filled it to a level flush with the seat surface, and shaped it into the contour of the bow. The only tasks that remain are to install the bow and stern transom knees, motor pad, and oarlock blocks. It is amazing how rigid the hull has become with the final addition of the seats; such a long way from the collection of flexible strakes that I started with a few months ago. Total hours 70.25.
 Another batch of peanut butter epoxy, another seat. The bow seat presented its own obstacles during the installation. There was a sizable gap--about 3/4" -- between the #3 and #4 strakes and the edge of the front seat about 8" aft of the bow transom. Whether this is normal, or due to a flaw in my construction, I can't be sure. But it will require a process of building up some layers of epoxy to fill the gap. The space couldn't be spanned by one fillet of epoxy, but will instead require a second fillet be applied later over the one laid down tonight. Apart from the gap that ran for about 10" on either side of the bow seat, everything else went well. There was a very slight curve in the piece of plywood that makes the seat, so I added some weight in the form of my homebrewing propane tank to maintain a tight contact between the seat and the bow bulkhead. In all the rest of the edge, a standard fillet could be applied and smoothed. Total hours 69.75.